Stuntmanmike1977
Member
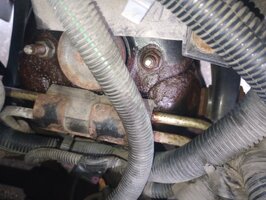
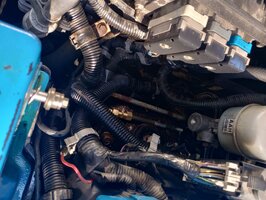
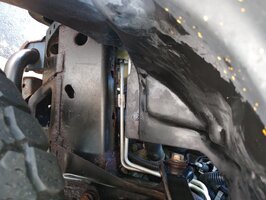
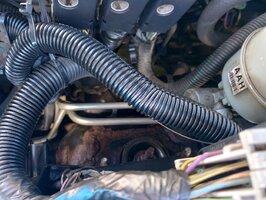
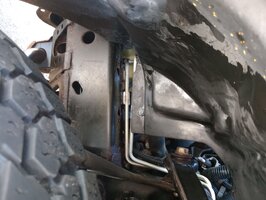
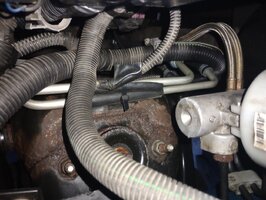
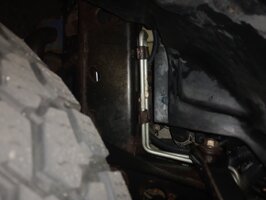
Hey everyone. Did an oil change on my trailblazer today and noticed this leak from the ps hose. My question is what lines do I need to replace to fix this. Just the pressure and return lines or is there more than 2?
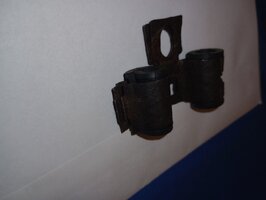
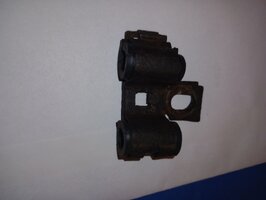
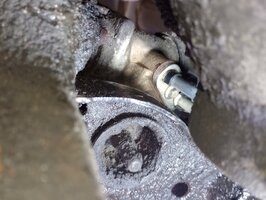
The line closest to the strut that you have patched is the return line. That line is more suitable to repair since under less pressure. It is worth trying high pressure rubber fuel hose and pair hose clamps on each end to see if that will hold. You may have to replace that line later if the clamps start to leak in the winter months.Ok, upon further inspection the line that broke is the one closest to the strut. Runs from the rack to the oil cooler then another line that comes out of the cooler to the pump reservoir with a squeeze clamp on it. That is the return if I'm not mistaken? Question is, should I replace just the line that broke to the cooler since I'm on a budget or, bite the bullet and do all 3 or just the 2? Was thinking of at least doing the 2 that go to the rack cause I'd rather just take that on once. And are those flimsy sheet metal brackets that hold the lines (the 2 on the top of the driver side frame) still available? Not sure what to do.
I'll try those, thanks.I'd try using zip ties instead, the one with a mounting hole. There might be some similar wire clamps like this that would work.

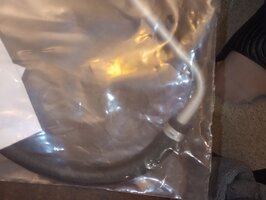
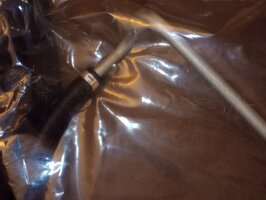
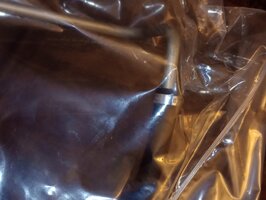
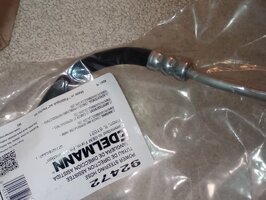
Hello. Well I got my new PS lines delivered today and was EXTREMELY unhappy when I opened the box. Ordered all 3 and 2 of them were put together with crimp clamps. The pressure line was like the original but the return line and the cooler line are just clamped. Can I trust this before going through all that work? Would you guys trust these?
Yes but be careful as I had one break on my '02 EXT and I had to get the broken stub out of the rack. I've done it multiple times since and hasn't reoccurred.Also wanted to make sure I could crack the bolt loose.
I tapped the seal first in the rack and then pushed the line into it. Be careful taking the old seal out to not scratch or damage the bore in the rack. Screw a bolt of the appropriate size into the old seal to pull it out.So, instead of doing it twice, did you open the seal flaps and tap them into the rack or put it on the line and push in the line and seal together?
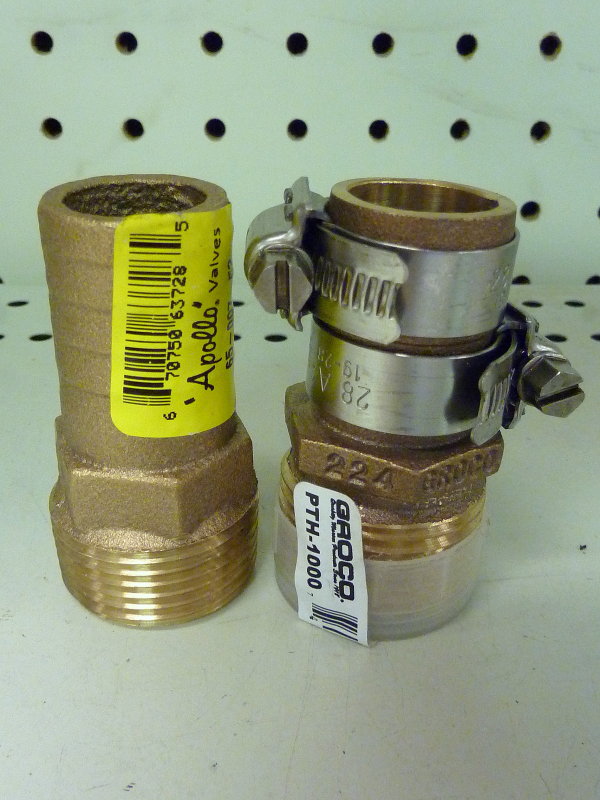
A worm gear is fine since it's a low pressure return line. I usually double them with the gears on opposite sides to be sure they don't leak or come off. This is the only pic I could find that shows what I mean:Also, on the spring clamps which were pretty hard getting the hoses off the cooler( had to remove one of the bolts for wiggle room) can I reuse them or replace them with the worm gear screw tight ones?
Since you practically flushed it with that leak, you don't really need to flush it again. You can just connect all the hoses, fill it, with the front end jacked up and wheels in the air, turn the wheels side to side, refill, repeat several times. Still in the air, start the engine. The pump may still whine a little. Turn the wheels again multiple times and refill if necessary. Lower to the ground and repeat.Also, can I flush the system right after a hose install before I even hook up the return line to the pump after blocking off the return nipple on the pump filling the pump or do I have to fill it and bleed it first? And does the engine off method flush the entire system including the rack?
You could do that but that's the way I ruined one of them. Luckily I had two of them (expensive little buggers from the dealer!).Will try the seal on the line trick but, if I pucture the seal can I slide them back off the line if they need to be tapped in? Just don't want to ruin the seals feeding the lines through if they are that fragile.